OpenCV(Open Source Computer Vision Library)は画像や動画の処理・解析や機械学習等の機能を持つライブラリです。
ディープラーニング tensorflow と OpenCV を併用するため、Python環境にOpenCVをインストールしました。
(1) Python + TensorFlow 環境にインストール
少し古い環境ですが、「深層学習 TensorFlow Windows版 GPU インストール」で構築した Python + TensorFlow 環境にインストールしました。
仮想環境にpipでインストール。
>conda activate tf
(tf)…tf>pip install opencv-python
メッセージ
Collecting opencv-python
Using cached https://files.pythonhosted.org/packages/1c/37/48895b3402fed66489e4176065b8bee89573e67377be6830ed8ab58f9cdb/opencv_python-4.5.1.48-cp36-cp36m-win_amd64.whl
Requirement already satisfied: numpy>=1.13.3 in c:\users\xx\anaconda3\envs\tf\lib\site-packages (from opencv-python) (1.15.2)
mkl-random 1.0.1 requires cython, which is not installed.
Installing collected packages: opencv-python
Successfully installed opencv-python-4.5.1.48
確認
(tf) …tf>python
Python 3.6.6 |Anaconda, Inc.| (default, Jun 28 2018, 11:27:44) [MSC v.1900 64 bit (AMD64)] on win32
Type “help”, “copyright”, “credits” or “license” for more information.
>>> import cv2
>>>
インストールできたようです。
(2) 実行
画像のグレースケール化と二値化を実行してみました。
プログラム
import cv2
threshold = 4
window_name01 = ‘gray image’
window_name02 = ‘binary image’
cv2.namedWindow(window_name01)
cv2.namedWindow(window_name02)
img_gray = cv2.imread(‘data/opencv/test01.jpg’, cv2.IMREAD_GRAYSCALE)
if img_gray is None:
print(‘image file error!’)
else :
(retval, img_bin) = cv2.threshold(img_gray, threshold, 255, cv2.THRESH_BINARY)
cv2.imshow(window_name01, img_gray)
cv2.imshow(window_name02, img_bin)
cv2.waitKey(0)
cv2.destroyAllWindows()
print(‘done.’)
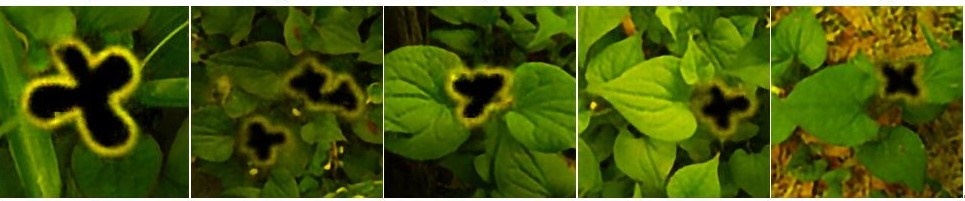
元の画像は、「深層学習 TensorFlow + keras 植物写真の自動着色(3)」で特定の花を塗りつぶしした画像を利用しました。
元画像 test01.jpg
フォルダdata/opencv/を作成して元画像とプログラムをコピーして実行。
実行結果
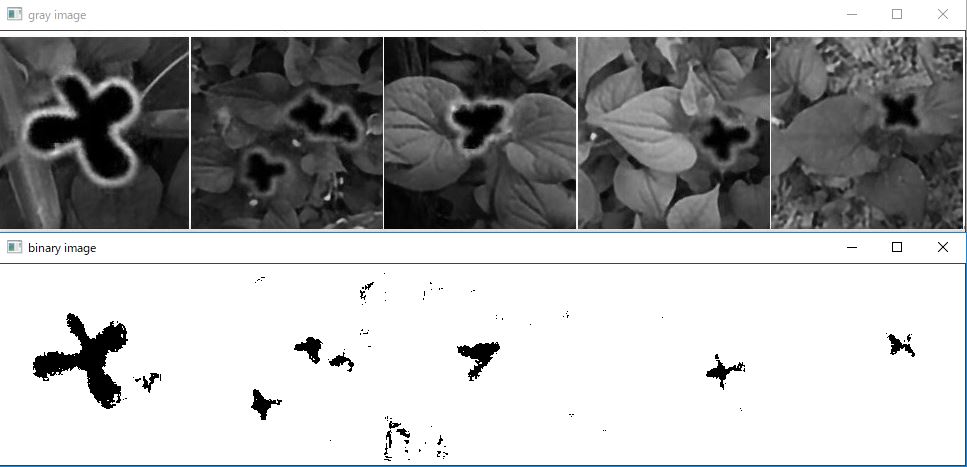
このように画像処理が簡単にできます。
(2021/2/27 S.Onda)
